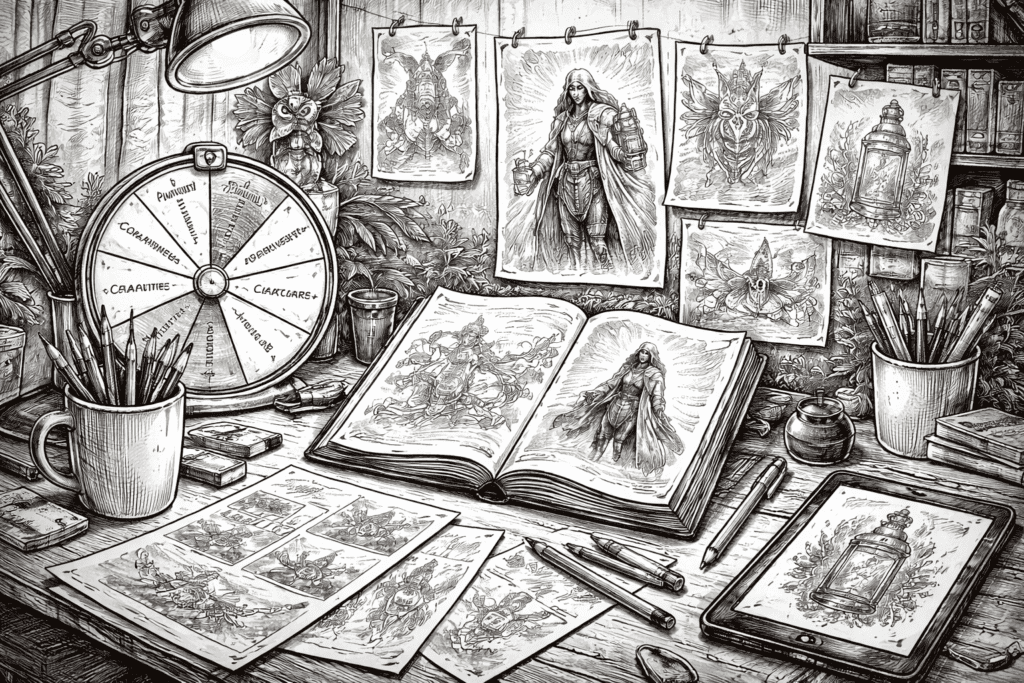
An art prompt generator is a tool that turns a vague goal like I want to draw something into a clear, usable brief. Instead of staring at a blank page, you pick a direction and get prompts that already include subject, mood, and constraints. This guide explains how to use prompt generators for traditional drawing and for AI image generation, plus how to turn a single prompt into dozens of strong variations.
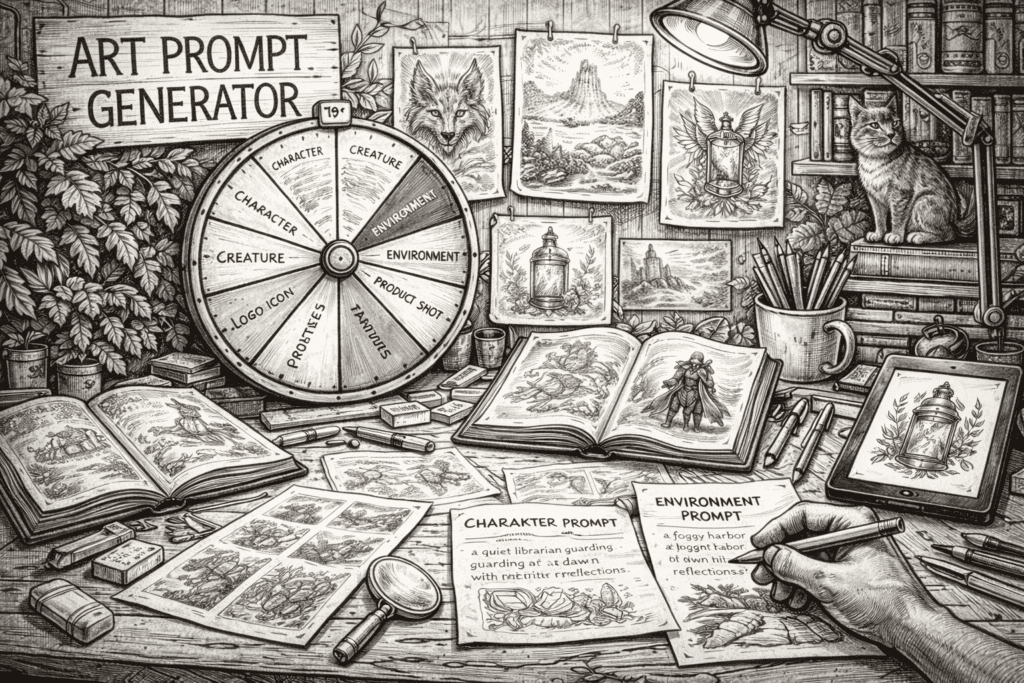
If you want to explore all prompt tools and categories in one place, use Art Prompt Generator and treat it as your hub. If you want pure randomness for quick inspiration, use Spin the Wheel and pull a prompt fast. The rest of this guide shows you how to get reliable ideas from both approaches and how to refine prompts so results look intentional instead of random.
How to use prompts without getting generic results
Most people use prompts the wrong way. They copy a prompt, generate or sketch once, dislike the result, then assume prompts do not work. Prompts work when you treat them as a starting brief, then you make two or three targeted decisions that add clarity.
The first decision is the output type, meaning a character, a scene, an object, a logo, or line art. The second decision is the framing, meaning portrait, full body, wide environment, or close detail. The third decision is the constraint that forces design choices, like limited palette, one light source, strong silhouette, or a specific era.
When you apply those three decisions, even a simple prompt becomes specific. Your results improve because you remove ambiguity and you stop asking the tool to decide everything. The generator gives you direction, you provide intent.
The anatomy of a strong prompt
A strong prompt is not long, it is structured. Structure matters because it keeps the idea readable and it prevents your output from collapsing into visual noise. The most useful structure is subject, context, style, medium, lighting, composition, and one constraint.
Subject is the main noun and should be concrete. Context is the setting or the situation that makes the subject interesting. Style is the visual language, like concept art, watercolor, ink, vector icon, or tattoo flash. Medium is the execution method, which is relevant for both artists and image models because it shapes texture and line behavior.
Lighting and composition are the difference between a boring image and a designed image. Lighting tells the viewer where to look and composition tells the viewer how to read the scene. A single constraint keeps the output clean, like no background clutter, clean negative space, or a limited number of colors.
A fast method to pick the right category
Choosing the wrong category wastes time because the prompt structure will fight your goal. If you want people and outfits, choose a character category. If you want places and atmosphere, choose an environment category. If you want a creature, choose a creature category, because it will emphasize silhouette and surface detail.
If you want commercial looking images, choose product shot prompts because they include studio lighting and background control. If you want printable line art, choose coloring page prompts because they include outlines only constraints. If you want a symbol, choose logo icon prompts because they focus on scalability and clean shapes. If you want tattoo concepts, choose tattoo prompts because they enforce linework and contrast.
Once you pick the right category, you can regenerate until you get a base you like. Then you refine by adding one or two specifics rather than rewriting the entire prompt.
Traditional drawing workflow: from prompt to finished piece
A prompt is most valuable when it guides practice, not when it dictates every pixel. For traditional drawing, treat the prompt as a mini art director note. Start with a thumbnail, then a value plan, then detail.
Begin with a small thumbnail that solves composition and silhouette. Then pick your light source and block values in three groups, light, mid, dark. After that, add detail only where it supports the focal point, not everywhere.
This workflow makes prompts usable even if you dislike the first idea. You can regenerate for a new subject, but you keep practicing the same skill, like lighting, perspective, or line control. The prompt supplies the subject and mood, your process supplies the craft.
AI image workflow: from prompt to controlled outputs
For AI image generation, the biggest mistake is adding too many style words. When you stack many styles, you create conflicts and the output becomes muddy. Use one style direction, one medium direction, and one lighting direction, then add constraints.
Start by pasting a prompt exactly as generated and observe what the model does. Then decide what is wrong, not in general terms, but as a single issue like too busy, wrong framing, wrong palette, or messy anatomy. Fix that single issue by adding one constraint or removing one conflicting phrase.
If your tool supports negative prompts, move unwanted traits there instead of bloating the main prompt. If it does not, keep the main prompt short and avoid contradictory instructions. Controlled outputs come from fewer, clearer instructions.
Character design prompts: making people that look designed
Character prompts work best when you specify three things: role, silhouette, and one signature element. Role gives you costume logic, silhouette gives readability, and the signature element gives memorability. If you only describe a generic person, you get generic results.
Use character prompts to practice outfit design, facial expressions, and prop storytelling. Pick one prompt, then generate or sketch three variants that change only one thing, like mood or lighting. That approach trains consistency and prevents random drift.
Here is an example character prompt you can use as a base. The point is the structure, not the exact words.
a desert courier with a patched cloak, cinematic concept art, digital painting, calm mood, golden hour lighting, centered composition with strong silhouette, full body, clean forms and believable materials
After you test it once, refine by adding one specific era and one material choice. Add something like linen cloak, brass fasteners, and worn leather satchel, and remove any extra style words. Your output becomes more coherent because the design logic becomes clear.
Environment prompts: building scenes with depth and atmosphere
Environment prompts succeed when you anchor the scene with one landmark and one depth plan. A landmark is a focal structure like a ruin arch, a lantern line, a pier, or a bridge. A depth plan means foreground shapes, midground subject, background atmosphere, even if it is subtle.
If you generate or paint environments without a depth plan, the scene becomes flat. Prompts can help because they often include atmosphere cues like mist, reflections, haze, or lantern light. You still need to decide where the viewer stands and what the focal point is.
Here is an example environment prompt that contains the right ingredients.
scarlet dunes under a pale sky with distant heat haze, environment concept art, digital painting, mysterious mood, soft overcast lighting, wide composition with atmospheric perspective, clear foreground and background layers, refined textures and clean focal point
To improve it, add a viewpoint instruction like low ridge viewpoint looking down into the dunes. Then add one storytelling prop like a half buried signpost or a lone tent. These two additions create narrative without making the prompt longer than it needs to be.
Creature prompts: designing monsters and animals with logic
Creature prompts are most useful when you constrain anatomy and habitat. Anatomy constraints prevent random limb chaos and habitat constraints make surface details feel plausible. If you ask for a creature without those constraints, you often get a vague hybrid with no design logic.
Pick one creature prompt and lock the body plan, like quadruped, biped, serpentine, insectoid, or aquatic. Then lock one signature feature, like crystalline horns, ember tail, or brass feathers. This is how you get designs that look intentional.
Here is a creature prompt that is structured for clarity.
a mechanical owl with brass feathers, creature concept art, 3D sculpt render, eerie mood, rim light with gentle haze, rule of thirds composition, full body with readable silhouette, crisp edges and believable materials
If you want cleaner results, simplify the background. Add plain dark background or minimal environment so the creature stays readable. If you want a more story rich result, add a single environment cue like perched on a rusted sign in a foggy alley and do not add more than that.
Product shot prompts: clean commercial images instead of messy scenes
Product prompts fail when the prompt allows clutter. Commercial product images need a controlled background, controlled lighting, and a clear angle. The product category is valuable because it already leans into studio language and avoids cinematic chaos.
For the best results, add the material and finish. Brushed metal, frosted glass, matte ceramic, and glossy plastic each change reflections and edges. Material control is more effective than adding more adjectives.
Here is a product shot prompt that produces more consistent outputs.
studio product photo of a silver thimble on textured linen, white studio sweep background, three quarter angle, 85mm lens look, studio softbox lighting, sharp focus and clean edges, controlled contrast and crisp reflections
If the output invents extra props, add a strict constraint like no extra objects, single product only, clean surface. If the output looks too flat, add a subtle backlight or rim light cue, but keep the rest unchanged so you can see cause and effect.
Coloring page prompts: printable line art that stays line art
Coloring page prompts require explicit no shading rules. Many generators and models default to shading and gradients unless you forbid them. Your prompt must clearly request outlines only, black and white, and no fills.
For artists, these prompts work as scene briefs for creating your own line art. For image generation, they help you get a clean base that you can refine or vectorize. The key is simplicity and line clarity.
Here is a coloring page prompt example with the right constraints.
coloring page line art of a cozy library interior with shelves and a reading chair, black and white, clean bold outlines, no shading and no gray fills, centered composition with clean negative space, printable and high clarity
If the output still includes shading, strengthen the instruction by adding outlines only and remove any painterly words. If the output is too detailed, add simple shapes and reduce clutter in the scene description.
Logo icon prompts: symbols that read at small sizes
Logo and icon prompts need strict design constraints. A good icon is readable at small sizes, has clean negative space, and avoids texture. If you allow realism or complex lighting, you get an illustration, not a mark.
Treat logo prompts as a concept generator, not a final deliverable. The goal is to get a handful of symbol directions, then you pick one and rebuild it cleanly in vector tools. Prompts are still useful because they give you fast symbol ideas.
Here is a logo icon prompt that keeps the output in the right design space.
vector logo icon for a drawing prompt app, symbol: pencil, flat vector style, geometric and symmetrical, two colors, clean shapes and clear silhouette, no gradients and no photo realism, scalable icon centered on white background
If the output is too complex, add minimal shapes and reduce it to one color. If the output is too generic, change the symbol to something more specific like thimble or lantern and add one constraint like negative space mark.
Tattoo prompts: linework focused designs with contrast
Tattoo prompts should specify line weight and shading approach. Fine line, dotwork, blackwork, and traditional are not interchangeable. If you mix them, you get an unclear style that looks unfinished.
Keep the background white and demand crisp lines. A tattoo design must read as a design, not as a photo. Contrast and negative space matter more than surface texture.
Here is a tattoo prompt example designed for clarity.
tattoo design of a moth with geometric framing, fine line, clean outlines, light stipple shading, symmetrical badge layout, high contrast with clean negative space, white background and crisp linework
If the output looks muddy, remove shading phrases and keep outlines only. If you want a bolder look, switch to blackwork and add high contrast fills, but keep the subject unchanged so the change is isolated.
Composition and lighting: the two levers that upgrade any prompt
If you want better results fast, improve composition and lighting before adding detail. Composition gives hierarchy and lighting gives focus. This is true for drawing and for AI outputs.
A simple way to use composition is to pick one rule and apply it consistently, like rule of thirds or symmetry. If you need a quick reference for rule of thirds, use this external guide: Rule of thirds reference. You do not need to memorize theory, you need a repeatable choice.
Lighting can be simplified into one key light direction. Choose front light, side light, backlight, or top light, and avoid mixing multiple light sources early. When you lock one light source, shadows become coherent and the scene becomes readable.
Turning one prompt into ten strong variations
The fastest way to get variety is not regenerating forever. It is generating once, then making controlled variations. Controlled variation means you change one variable at a time and keep the rest stable.
Start with your base prompt. Create three variations that change only mood, like calm, tense, and mysterious. Then create three variations that change only time of day, like dawn, midday, and night. Then create four variations that change only medium, like ink, watercolor, oil, and 3D render.
This method produces a set that looks intentional because everything is related. It also helps you learn which words matter in your tool. Random regeneration can be fun, but controlled variation produces usable sets faster.
A practical weekly routine using prompt packs
Use a routine that forces repeat visits without turning into busywork. Pick one category for a week and commit to one prompt per day. Keep the output small, like a thumbnail or a quick sketch, so you finish.
On day one, generate a pack and choose the simplest prompt. On day two, use the same prompt but change lighting. On day three, change composition and keep lighting. On day four, change mood and keep subject. On day five, change medium and keep everything else. On day six, pick a new prompt from the same pack. On day seven, regenerate and choose one new prompt.
This routine makes the tool useful because it gives you structure. It also prevents the common trap of generating hundreds of prompts and finishing nothing.
Where to pull prompts on your site, and how to combine tools
Use Art Prompt Generator when you want to browse prompt generators by type and pick something aligned with your goal. This is the best choice when you already know you want a character, an environment, or a specific prompt style. Use Spin the Wheel when you want a quick random idea and you do not want to think.
You can combine both in one workflow. Start with Spin the Wheel to get a surprising subject, then switch to the category tool that matches the subject so you can refine it. This turns randomness into a usable direction instead of a dead end.
If you want to build a personal backlog of ideas, copy one full pack into your notes each week and label it by category. Then pick from that backlog when you do not want to regenerate. This reduces decision fatigue and makes the tool feel like a library without requiring accounts.
Common mistakes and simple fixes
The most common mistake is using too many descriptors. If your prompt contains several styles, several mediums, several moods, and several lighting setups, you are asking for contradictions. The fix is to keep one style, one medium, one lighting direction, and one composition cue.
Another common mistake is vague subjects. Words like person, creature, or landscape are too broad and produce generic outputs. The fix is to add role, landmark, or species clue, like courier, lighthouse, mechanical owl, or desert camp.
A third mistake is ignoring constraints. Constraints are not limitations, they are design choices that improve clarity. The fix is to add one constraint like clean background, single subject, limited colors, or outlines only, and remove everything else that competes with that constraint.
Examples you can copy and adapt fast
Here are three prompts designed to be edited quickly. Each one is meant to produce a clean result, then you adjust one variable at a time. Do not add extra style words unless you remove something else.
a quiet librarian guarding a forbidden atlas, ink line art, calm mood, soft overcast lighting, centered composition with strong silhouette, clean negative space, crisp edges and readable forms
a foggy harbor at dawn with quiet reflections, watercolor landscape, melancholic mood, soft diffuse lighting, layered depth with clear foreground and background, atmospheric perspective, controlled contrast and clean focal point
vector logo icon for a coffee roastery, symbol: lantern, minimal modern, monoline, one color, clear silhouette, no gradients, scalable icon centered on white background
Use the first prompt for portrait studies, add face and hair details if needed, and keep the rest stable. Use the second prompt for environment studies, add a single landmark like a lighthouse or pier, and keep the palette constrained. Use the third prompt for icon brainstorming, swap the symbol and keep the rules unchanged.
Closing notes: what makes a prompt tool actually useful
A prompt generator is valuable when it reduces blank page time and increases finished work. It should produce structured prompts that are easy to refine, not just random words. If you use categories correctly and refine with one or two targeted decisions, you get repeatable results instead of novelty.
If you want more prompt types and generators to mix into your routine, return to Art Prompt Generator and explore categories that match the skill you want to train. If you want a fast surprise idea, use the wheel and then refine into a category prompt. The best results come from pairing randomness with structure, not from randomness alone.