Fantasy Creature
Unleash dragons, griffins, or hybrid beasts from a realm of pure imagination! Generate short prompts for drawing unique fantasy creatures—perfect for artistic inspiration. Click to create a new idea!
Fantasy Creature Drawing Prompts Training Guide
Goal. Design creatures that feel alive, make sense, and look good on the page. You will connect shape, anatomy, and story so the result reads fast and holds attention. You will finish sessions with sketches and small renders that show clear decisions and strong craft.
What this generator gives you
The tool hands you fresh creature ideas so you can skip the blank page stall. You get a base animal, a twist, and a setting that pushes you to think like a builder and not a recycler. That mix forces choices about bone, muscle, and surface that add up to believable design.
Start a session with a clear brief
Press the button and write one sentence that explains how the creature lives. Keep it practical and short so it guides every mark you make. Decide what it eats, how it moves, and where it rests, then stick to that plan while you draw.
Build from the skeleton up
Lay down a simple skeleton before you chase details. Use a spine with a clear head block, a rib cage mass, and a pelvis mass so the pose has weight. Place limbs with believable joints and show how the feet or claws meet the ground in a stable way.
Add muscle forms that support motion
Wrap cylinders and wedges around the bones to suggest the main muscle groups. Connect shoulder to elbow and hip to knee with rhythms that carry energy through the pose. Keep overlaps clean so the viewer understands what sits in front and what sits behind at a glance.
Design a silhouette that communicates
Fill the outside shape and look at it from far away. If the creature reads in two seconds you are on the right path, and if it does not then simplify the outline and push three big shape ideas. Separate head, body, and tail or wings so the structure is unmistakable even at small size.
Balance the creature so it can stand and move
Check that the center of mass falls over a solid base of support. Use a triangle under the feet for quadrupeds and a wide stance for bipeds that carry heavy gear. If it looks like it will tip over, shift the pose, widen the stance, or lower the body until it feels stable and real.
Surface and materials with restraint
Choose one primary surface like scales, plates, fur, or slick skin and place it where it makes sense. Put tougher material on strike zones and softer material in bend areas so the creature feels engineered by nature. A few focused texture notes sell the idea better than a page of tiny marks that do nothing for the read.
Connect design to habitat and behavior
Let the world shape the creature rather than the other way around. Desert life leans on light colors and large ears that dump heat while swamp life leans on webbed limbs and wider feet. When gear and body match the place, the drawing earns trust fast and feels smart instead of random.
Lighting that reveals form
Pick one light direction and commit to it on every part. Group the shadow side into connected shapes so legs and belly read as a single mass, then add one or two reflected light notes to suggest bounce from the ground. Save highlights for the skull, the eye ridge, or the key surface so the attention lands where you want it.
Color plan that supports the idea
Start with a calm base color that matches the habitat, then add one strong accent for display or warning. Put the accent where the story says it belongs such as the frill of a mating display or the glands of a poison defense. Keep the rest of the body close in value so the accent can do its job without a fight.
Edges that suggest depth without noise
Use softer edges on the shadow side of round forms and keep sharp edges on bony planes and armored plates. Let the back edge of the creature blend a bit with the background so the head and chest can pop. With smart edge control you get depth and focus without covering the page in detail.
Scale and storytelling through contrast
Place a small tree, a rock, or a human figure to show size in a single glance. Push one big scale contrast inside the creature such as a heavy torso with thin nimble forelimbs or a tiny head on a broad armored neck. The brain reads those contrasts fast and starts to imagine how the creature hunts or hides.
Simple composition that frames the beast
Put the main mass near a thirds point and aim the gesture into the open side of the frame so it has room to breathe. Keep one area quiet with large shapes and push detail near the head or the tool the creature uses. A clean stage helps the design shine and looks professional in a portfolio piece or a study page.
Frequent mistakes and direct fixes
If the creature looks like a collage, pick one idea to lead and demote the rest to small support notes. If the pose feels stiff, draw a new gesture line from nose to tail and rebuild the forms around that flow. If the design feels messy, remove tiny spikes and pockets and return to three bold shapes that carry the read.
Beginner path that builds confidence
Start with one real animal and change only one body region such as the head or tail so you can focus on structure. Work in gray for a week and keep studies short so you do not drown in choices. End each session with one sentence about what you learned and carry that note into the next drawing.
Advanced path that adds depth
Pick two base animals and a strong material change like glass, coral, bark, or smoke, then make the joints and weight honest. Design a functional feature such as a heat sink spine, a fold out glider membrane, or a ramming horn with internal bracing. Keep the surface clean so the viewer can read the engineering at a glance.
One sitting workflow that keeps momentum
Spend five minutes on a gesture and a skeleton that sets the pose and the base of support. Spend five minutes on large muscle forms that create volume and clean overlaps. Spend ten minutes on a three tone value plan, then finish with fifteen minutes of color, edge control, and a few texture notes that confirm material and habitat.
Seven day practice plan
Use this plan when you want steady progress without long sessions. Keep the time boxes small, follow the focus for the day, and save work in one folder so improvement is obvious. Repeat the plan next week with different prompts and push your favorite day into a longer render when you have more time.
| Day | Focus | Time | Expected result |
|---|---|---|---|
| One | Gesture and skeleton for three prompt ideas with clear bases of support | Twenty minutes | Three poses that feel stable and ready for forms |
| Two | Muscle forms and overlaps on the best pose with clean rhythms | Twenty minutes | Solid volume that explains how the body moves |
| Three | Silhouette pass and value grouping across head, body, and tail or wings | Twenty five minutes | A shape that reads from thumbnail size with bold dark and light groups |
| Four | Surface choice and material notes placed for function not noise | Twenty five minutes | Selective texture that sells biology and still reads clean |
| Five | Lighting plan with one key, grouped shadows, and two reflected light accents | Thirty minutes | Form that sits in space and feels consistent from head to tail |
| Six | Color pass with one calm base and one strong accent tied to story | Forty minutes | A small finished render with focus near the head or display feature |
| Seven | Review notes and a plan for the next cycle based on what worked | Ten minutes | Three decisions you will carry into the next week of studies |
Short example walkthrough
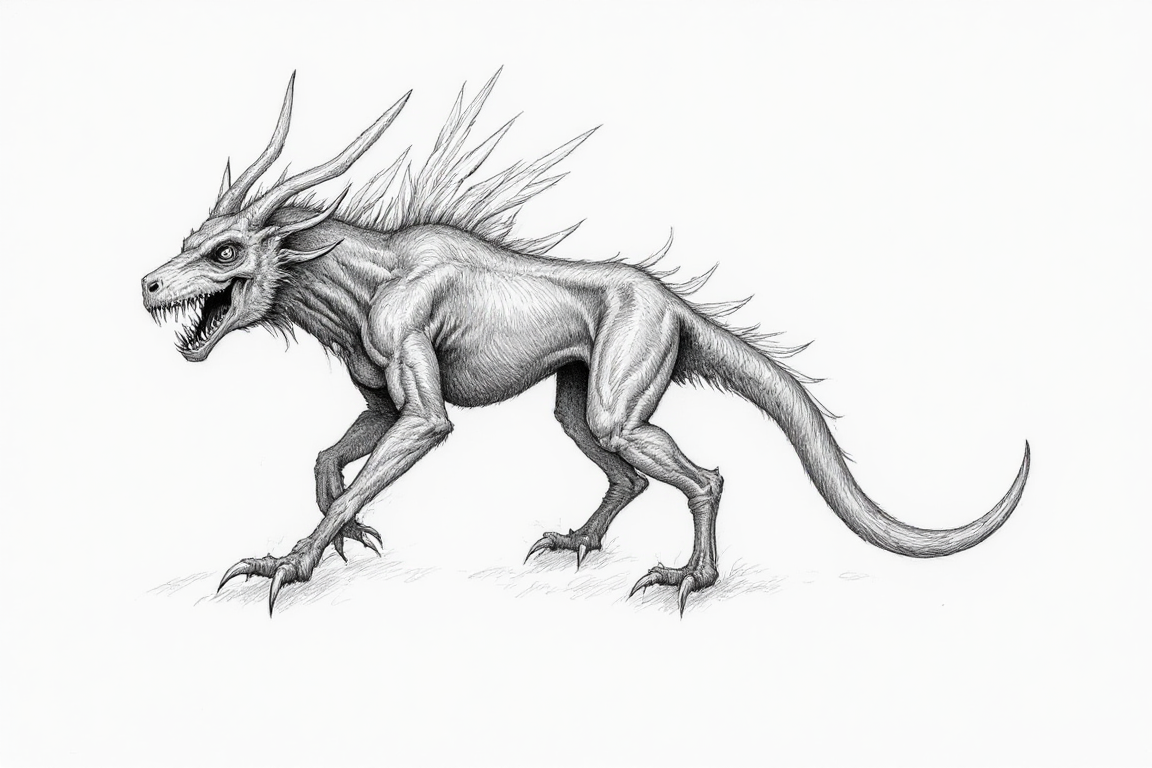
Imagine the prompt suggests a desert ram with coral growths and a burrowing lifestyle. You sketch a low heavy torso with long forelimbs for digging and you add a hard crown that protects the skull during impact. Sand color covers most of the body, a pale blue accent sits on the coral at the crown, and a single cast shadow on the ground locks the creature to the scene without extra clutter.
Keep your setup simple so you show up
Use one canvas size for the whole week and save files in one folder so progress is easy to track. Keep one brush for lines and one large brush for paint so you do not waste time switching tools. Write a single sentence at the end of the day to capture the lesson that mattered most.
How to judge growth without guesswork
Look at the newest study at thumbnail size and see if the silhouette reads faster than last week. Check if the feet sit on the ground and if the shadow side feels like one mass instead of a patchwork. If both answers are yes, you are getting better and you should keep the same routine.
Next steps after this guide
Turn your favorite creature into a character mount or a guardian in a small scene with a simple backdrop. Reuse the same light plan and value groups so the added context does not break the design. When the scene works, post the study with a short description of function and habitat so viewers understand the logic that shaped your choices.
Final notes
This page is here to help you move from random prompt to strong creature in a repeatable way. The steps focus on structure, readability, and simple story logic because those are the parts that last. Follow the plan, keep notes, and keep sessions short, and your designs will gain weight and clarity that shows up in every new drawing.
You may also like
Build believable forms by pairing ideas with the Animal Hybrid Prompts and borrowing real anatomy. For myth flavor and lore hooks, use the Myth and Legend Prompts and design a creature that fits a tale. If you need natural reference for fur, wings, or gait, study shapes with the Nature and Wildlife Prompts and bring that truth back to your design.